Creating the Ultimate Closet Organizer System: A Step-by-Step Guide
Organizing your closet is a task that many people put off because it seems overwhelming. Yet, with the right approach and plan, you can transform your closet into a highly functional and aesthetically pleasing space. An ultimate closet organizer system isn’t just about tidying up; it’s about creating a system that works for you. Whether you’re aiming to maximize a small space or transform a walk-in closet into a luxury dressing area, a thoughtful organization plan will help you get the most out of your closet. This guide will walk you through everything from inventory management to designing the perfect closet system that suits your needs and preferences.
Step 1: Start with Taking Inventory
Before you can begin organizing your closet, it’s essential to take stock of what’s inside. A lot of people are surprised to find just how much they own and how much of it they don’t wear or need. Starting with an inventory of your items is a crucial first step in creating an effective closet organization system.

How to Take Inventory
Remove Everything from the Closet: Start by completely emptying your closet. This will give you a clean slate and an opportunity to see every item you have. Lay your clothes, shoes, and accessories out on your bed, floor, or a large surface.
Sort Items into Categories: As you remove items, categorize them. Common categories might include:
- Everyday wear (work clothes, casual wear)
- Seasonal items (summer/winter clothing)
- Special occasions (formal wear, dresses, suits)
- Accessories (scarves, handbags, hats, belts)
- Shoes
- Items you rarely use (holiday clothing, maternity wear, etc.)
Assess Condition and Usage: Once everything is sorted, start evaluating each item. Ask yourself the following questions:
- When was the last time I wore this?
- Does it still fit well?
- Is it in good condition?
- Do I feel good when I wear it?
If an item is damaged, no longer fits, or hasn’t been worn in over a year, it’s time to part ways with it.
Create Piles for Donation, Repair, or Discard:
- Donate items that are in good condition but no longer fit your style or needs.
- Repair items that you love but require minor fixes.
- Discard items that are worn out, outdated, or beyond repair.
Count the Items You’ve Kept: Once you’ve purged unnecessary items, take note of the number of items that are left. This will help guide your closet design and how much space you’ll need for shelving, hanging rods, and drawers.
Step 2: Define the Purpose of Your Closet
A closet isn’t just a place to store clothes; it’s a space that should reflect your needs and lifestyle. What do you want from your closet system? Do you need easy access to your entire wardrobe, or are you trying to maximize storage in a small area? Take some time to define the purpose of your closet, as this will help you decide on layout and storage solutions.
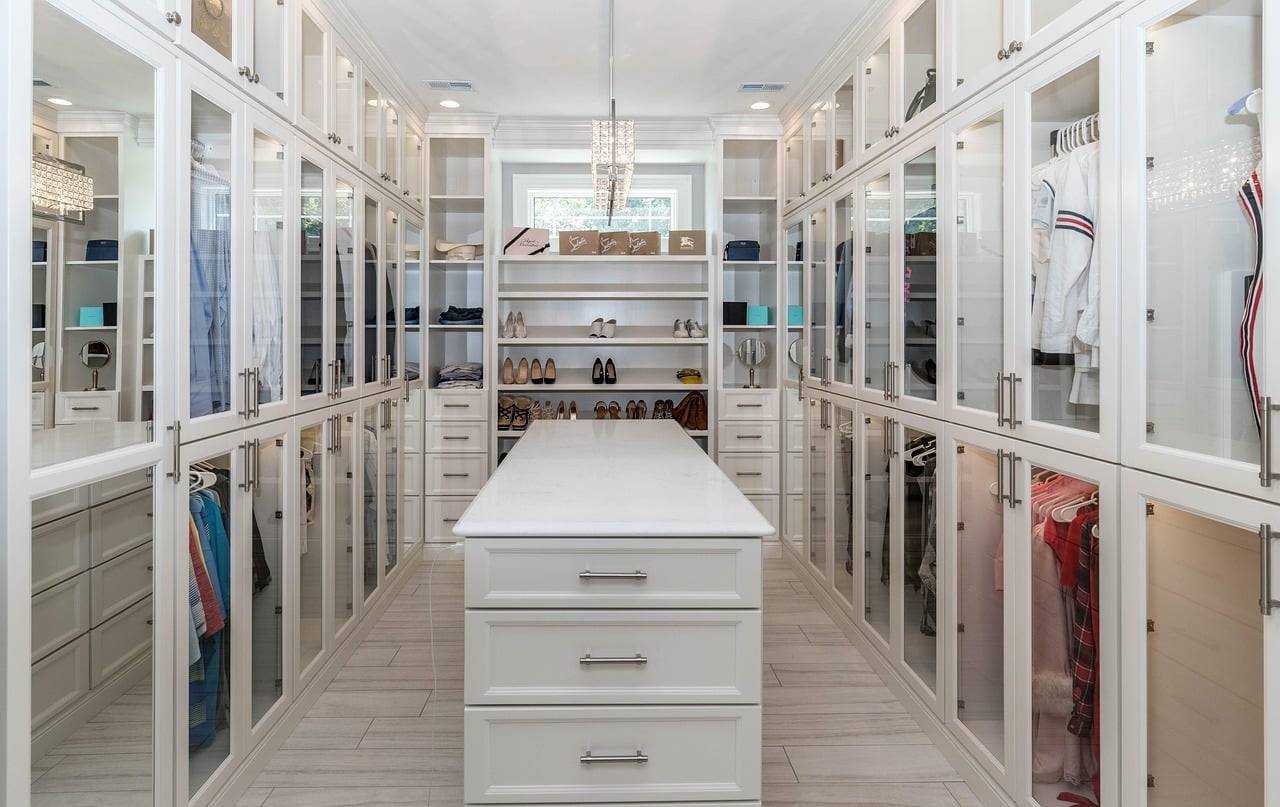
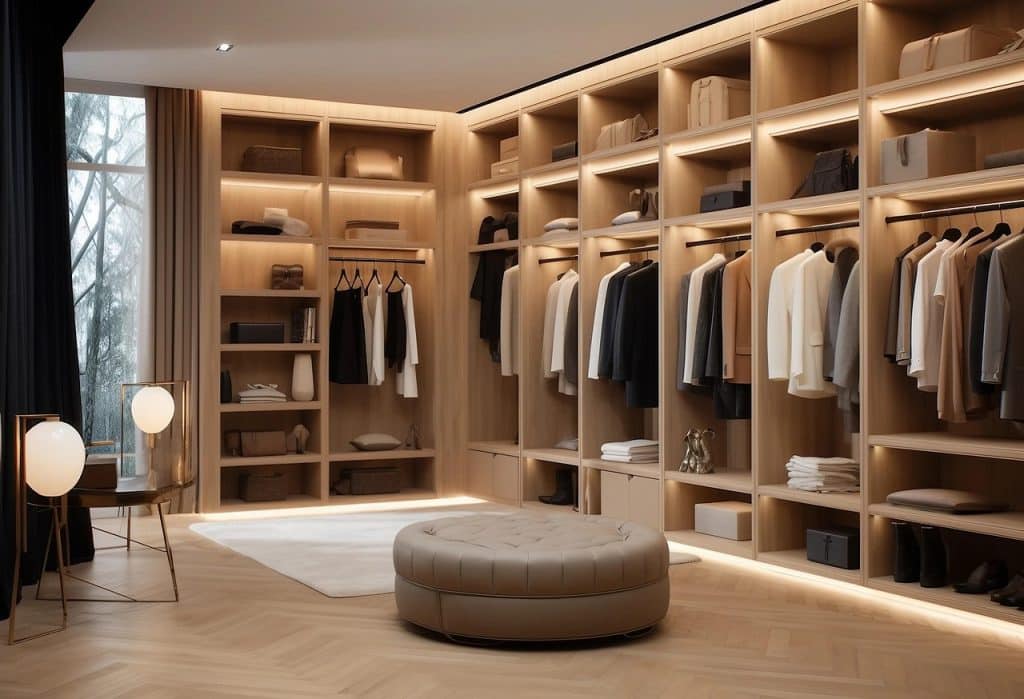
Walk-in Closet: If you have a larger walk-in closet, you might want to divide it into distinct sections such as a hanging section for clothes, shelves for shoes, and drawers for accessories.
Reach-in Closet: For smaller closets, maximizing vertical space is key. Use shelving and hanging rods at different levels to store a variety of items.
Mudroom Closet: If your closet is part of a mudroom or entryway, you may want to focus on functional, easy-to-reach hooks, shelves, and cubbies for shoes, bags, and outerwear.
Seasonal Storage: If you need to store out-of-season clothing or bulky items, consider adding bins or under-bed storage.
Understanding your closet’s purpose and how it fits into your daily life will help guide the rest of the design process.
Step 3: Create a Closet Map
A closet map is a visual representation of your closet space that will help you plan where everything will go. By taking measurements and visualizing your available space, you can organize your closet in a way that maximizes accessibility and efficiency.
How to Create a Closet Map
Measure Your Closet Space: Start by measuring the dimensions of your closet. Write down the length, width, and height of the walls. Also, measure the width and depth of the closet doors to ensure you have full access to the space. Note where shelves, rods, or other fixed elements are located.
Draw a Rough Layout: Draw your closet’s floor plan on paper or use an online closet design tool to visualize the layout. Include any existing features, such as windows, doors, or built-in shelves, so that you can plan accordingly.
Identify Key Zones: Divide your closet into zones based on the categories of items you have. For example, you might want to dedicate one section to shoes, another to coats, and another to folded clothes. Consider the height at which you’ll place different types of items. Use higher shelves for items you don’t need to access as often, and place frequently used items within easy reach.
Plan for Shelving, Rods, and Drawers: Think about what types of storage you’ll need in each zone. Will you use adjustable shelving, cubbies, or pull-out baskets for accessories? Do you need long rods for dresses or shorter rods for shirts and pants? Consider a mix of hanging space and shelves so that you can store everything neatly.
Step 4: Organize Categories of Items
Once you’ve mapped out your closet, the next step is organizing your clothing and accessories into categories. This helps you determine exactly what kind of storage systems you’ll need for each type of item.

Common Closet Categories
Hanging Items: These typically include shirts, pants, dresses, and outerwear. Use adjustable rods to accommodate varying lengths of clothing. Consider double-hanging rods for shorter items like shirts and pants, and single rods for longer garments like dresses and coats.
Shoes: Shoes can take up a lot of space and often get disorganized. Shelving with angled racks or pull-out shoe cubbies can help keep shoes visible and accessible. Alternatively, you can use clear storage boxes for shoes to protect them from dust while still being able to see what’s inside.
Folded Items: Sweaters, jeans, and other folded items should be stored on shelves. Adjustable shelving works well for this purpose. You can also add dividers to create neat stacks and make it easier to grab what you need.
Accessories: Smaller items like scarves, hats, and belts can be stored in drawers, on hooks, or in clear boxes. Use drawer organizers to separate these items for easy access.
Seasonal Clothing: If you live in a place with distinct seasons, you may need to swap out clothing items seasonally. Use labeled bins or under-bed storage to store off-season clothes. You can also store seasonal accessories, such as hats, gloves, and scarves, in these bins.
Special Occasion Items: If you have items like formal wear, costumes, or clothes you only wear occasionally, designate a specific area for them. This could be a higher shelf or a special garment bag to keep these items safe from dust and damage.
Step 5: Design and Plan the Installation
Once you’ve mapped out your closet and categorized your items, you’re ready to think about the actual design and installation of your closet organizer system. This is where you might want to bring in a professional designer to help you make the most of your space and ensure that the design fits within your budget.
The Role of a Closet Designer
Planning the Layout: A designer can help you fine-tune your layout, making sure that your closet is both functional and aesthetically pleasing. They can help you decide on the best materials for shelves and rods and ensure that your design matches your style.
Choosing Materials and Products: Designers have access to a wide range of materials, products, and brands. They can recommend high-quality shelving systems, closet organizers, drawer pulls, and hardware. They’ll also help you choose colors and finishes that complement your existing decor.
Hiring Contractors: If your closet system requires construction or installation, a designer can help you find the right contractors for the job. They often have relationships with trusted professionals who can install shelving units, rods, and cabinetry with precision.
Budget Management: Closet designers can also work with your budget and find solutions that meet your needs without breaking the bank. Whether you’re looking for a luxurious custom closet or a more affordable system, a designer can help you make the most of your space within your price range.
Step 6: Implementing the Plan
Once the design and materials are set, it’s time for the installation. Depending on the complexity of the project, you might want to hire a professional to do the work. For smaller projects, you can tackle the installation yourself by following the detailed instructions provided with your closet system.
Start with installing shelves, rods, and any built-in elements, then add smaller storage pieces like bins, cubbies, and drawer organizers. Be sure to keep the space clean during the installation process and take your time to ensure everything is properly aligned and secure.
Step 7: Maintain Your New Closet System
Once your closet is organized, maintaining it is key. Regularly assess what’s in your closet, purge items you no longer need, and keep everything in its designated spot. A closet organizer system is only effective if you continue to use it thoughtfully.

Conclusion
Creating the ultimate closet organizer system is a rewarding process that requires a bit of planning and effort, but the results will be worth it. By making an inventory of your items, categorizing them, and working with a professional designer, you can transform your closet into a beautifully organized space that meets all your storage needs. Whether you’re aiming for a luxury closet or a practical space that works with your daily life, the right design and system will help you get the most out of your wardrobe.
Sign up for Market Reports
Call JoJo at 478-731-1302


